How to Set Up a Branded WisperBot Website Chatbot
Set your chatbot brand tag on any WisperBot tier, including Free. Follow the website setup sequence for knowledge, answer rules, placement, and handoff.
In this article
The first version of a chatbot should be easy to inspect. You should know what it is called, where its answers come from, which website uses it, and how a visitor reaches a person.
In WisperBot, you can set the chatbot's footer company name on every tier, including Free. The website widget then displays “Powered by” followed by your chosen business name. This walkthrough combines that branding step with the basic checks needed for a useful website conversation.
It covers website chat. A customer-app SDK, a custom domain, and a fully rebranded software dashboard require separate implementation decisions.
Gather a small set of inputs
Before opening the settings, collect the public business name, a current source of customer information, the website you will use, and the person responsible for handoffs.
Choose one source that is already accurate. A concise service page or delivery policy is a better starting point than a large archive nobody has reviewed.
Write down the questions you expect the first version to answer. Include one incomplete question and one request that should go to a person. Those questions will become your acceptance test.
Also decide the team availability message. If human replies happen only during business hours, the widget should say so. Do not let the default wording make a promise the team has never agreed to keep.
Create or choose the Smart Bot
In Smart Bots, create a bot or open the one intended for this website. The setup separates the bot identity, business details, knowledge, answer behaviour, and where it answers.
Choose a tone that fits the business, then add practical instructions. “Use short answers and ask for the location when delivery depends on it” is more useful than a long list of adjectives.
Complete the business details so the bot has a clear description of what the company does and whom it serves. Keep claims and policies in their appropriate sources rather than hiding them in a vague brand description.
Add the approved knowledge source and wait for it to be read. Test a question from that source before moving on. A saved source record is not, by itself, proof that the bot has usable information from it.
Set the answer boundaries
Use How it answers to choose the appropriate answer scope and fallback behaviour. WisperBot provides Strict, Balanced, and Flexible modes; choose based on the job you are testing rather than assuming broader answers are always better.
For a policy-focused pilot, keep the source of business facts clear. Decide what happens when the information is missing. A short explanation and an offer of human help can be more useful than a plausible guess.
Test the fallback deliberately. Ask about an unpublished discount, an unrelated subject, or an account-specific issue the bot cannot inspect. Read the response as a customer who needs a next step.
The brand-voice article explains why tone and answer permission should remain separate decisions.
Set the customer-facing brand tag
Open Chatbot Widget, select the relevant widget, and go to Widget Setup. Under Appearance, edit the header, welcome copy, and other available appearance fields.
Find Footer company name and enter the business name customers recognise. Save the form. That value replaces the default WisperBot name after “Powered by”.
Keep the name short enough to read comfortably. The field allows up to 128 characters, but a long legal sentence will not make a better footer. Leaving it blank restores the default name rather than removing the line.
A custom launcher image is a separate paid feature. The free brand-tag control changes the footer text, so check the particular surface you are evaluating.
| Setup area | Decision | Check before launch |
|---|---|---|
| Smart Bot | Purpose, tone, and business details | Description fits this business |
| Knowledge | Current approved source | Expected facts appear accurately |
| Answer behaviour | Scope and fallback | Unsupported questions do not become promises |
| Appearance | Header, welcome, footer name | Your name appears in the widget |
| Placement | Correct bot and website widget | The intended page uses the intended setup |
| Human help | Responsible team and availability | Test handoff reaches the team |
Connect the bot to the website widget
Use Where it answers in Smart Bot setup or the matching widget controls to select website chat. Confirm that the intended Smart Bot is attached to the intended widget.
Then open Integrations for the website embed instructions. Use the actual snippet supplied for that widget. Do not copy an example key from a tutorial or a different workspace.
Place the embed using your website's supported custom-code method. If another person manages the site, give them the supplied integration instructions and the page you want to test.
Keep the website widget and customer SDK controls distinct. Enabling a website embed does not establish that a mobile app integration has been configured or released.
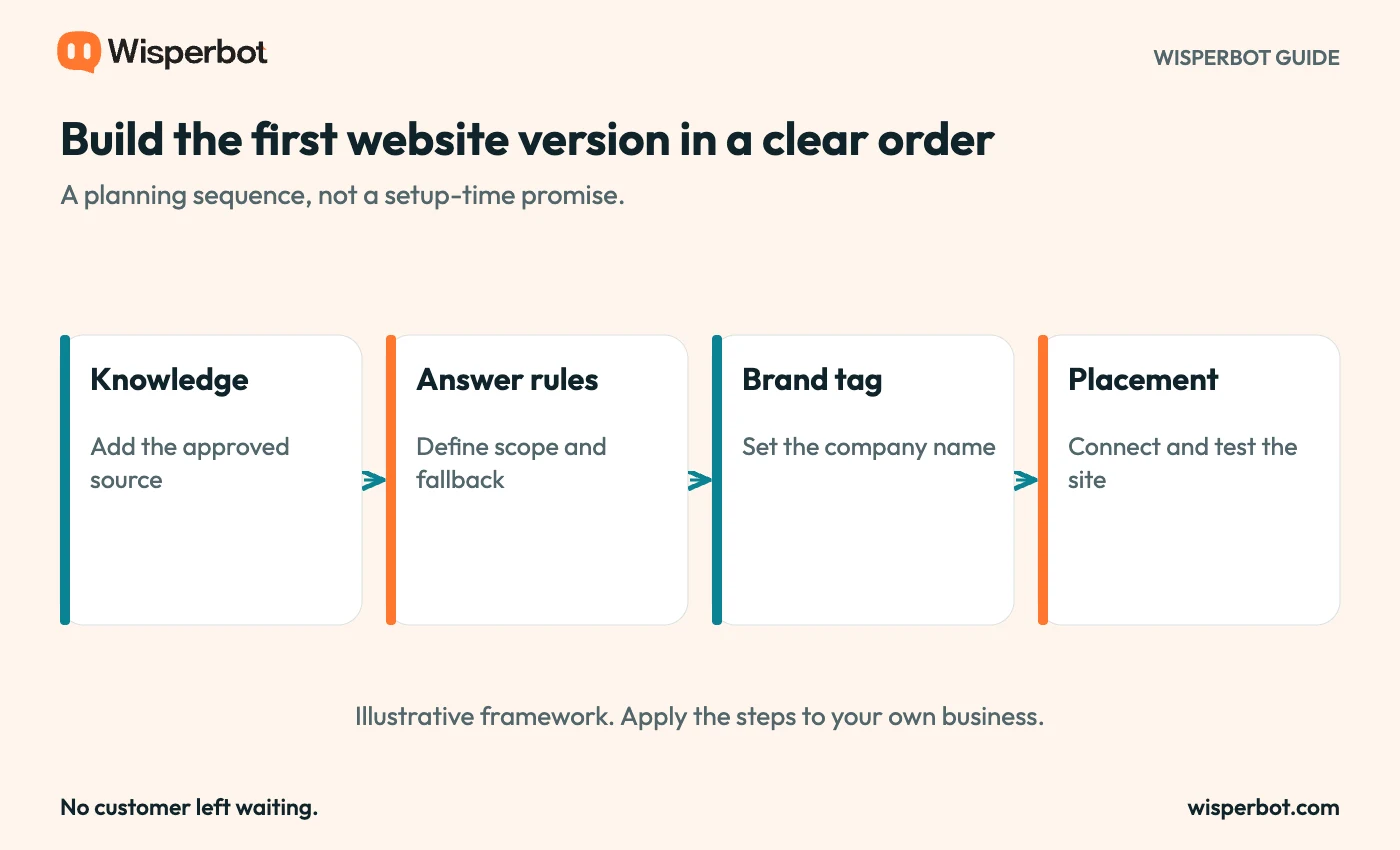
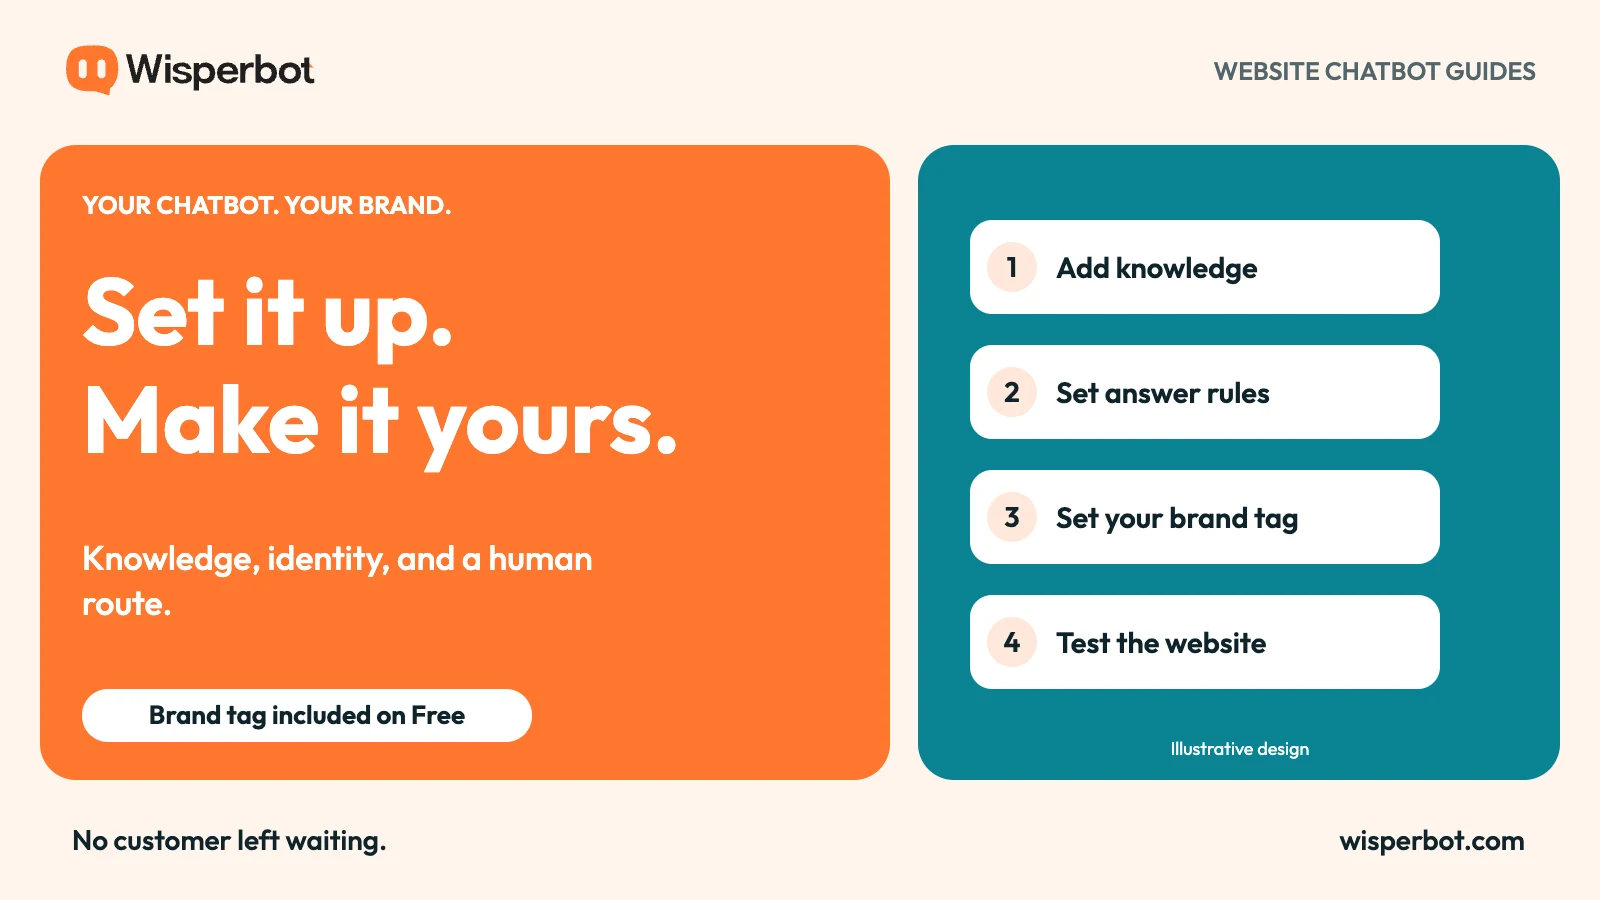
Suggested order for a first website setup. It is not a guaranteed setup-time claim.
Verify the whole visitor journey
Open the page in a fresh browser session. Check the footer name and welcome message, then ask the questions you prepared at the beginning.
Repeat on a phone. Open and close the window, type a longer message, and check that the chat does not cover an essential website control.
Ask for a human and inspect the team side of the conversation. Confirm that staff can understand what was asked and what the bot already said. If the team is away, read the visitor-facing expectation carefully.
Finally, test a second visitor separately. Each visitor should have their own conversation. Do not use a shared public transcript as a demonstration of the widget.
Keep a short launch record
Record the widget, website, source owner, test questions, and the person responsible for follow-up. This gives the next teammate something more useful than “the bot was working yesterday”.
When a policy changes, update the source and repeat the relevant questions. When the widget moves to a new site, repeat the placement and mobile checks.
For the first review, read the measurement guide. The aim is to learn which conversations the setup handles well and where the business still needs to improve the information or human process.
Setup questions
Is the footer name available on Free?
Yes. Footer company name is editable on every WisperBot tier. It changes the company name within the standard “Powered by” tag.
Will clearing the field remove the footer?
No. A blank company name falls back to WisperBot. Enter your intended brand name explicitly.
Does saving the settings prove the website is ready?
No. Check the actual website, answers, visitor privacy, and human handoff. Start with the website chatbot overview if you need the product context before configuring it.